— Main Menu —
Home
Installation
- MyLab Software Installation Guide
MACHINE INTERFACE
- Interface cable
Product
- My Lab Gold Edition [ Single User]
- My Lab Platinum Edition [Multi User]
- My Lab Diamond Edition [Collection Centre Module]
- My Lab on subscription Rs. 756/- per month
- My Lab NxtGen (New Edition)
- Product Comparison
MOBILE APP
- Mobile App New
- MY LAB MOBILE APP
- YOUR BRANDING ON MOBILE APP
Report Format
Payment
DOWNLOAD
Contact Us
- Contact Us
- Support
- - Terms & Conditions
- - Privacy Policy
- - Delivery Policy
- - Refund & Cancellation Policy
My Lab Video
Home
Installation
MyLab Software Installation Guide
MACHINE INTERFACE
Interface cable
Product
My Lab Gold Edition [ Single User]
My Lab Platinum Edition [Multi User]
My Lab Diamond Edition [Collection Centre Module]
My Lab on subscription Rs. 756/- per month
My Lab NxtGen (New Edition)
Product Comparison
MOBILE APP
Mobile App New
MY LAB MOBILE APP
YOUR BRANDING ON MOBILE APP
Report Format
Payment
DOWNLOAD
Contact Us
Contact Us
Support
Terms & Conditions
Privacy Policy
Delivery Policy
Refund & Cancellation Policy
My Lab Video
MyLab Software Installation Guide
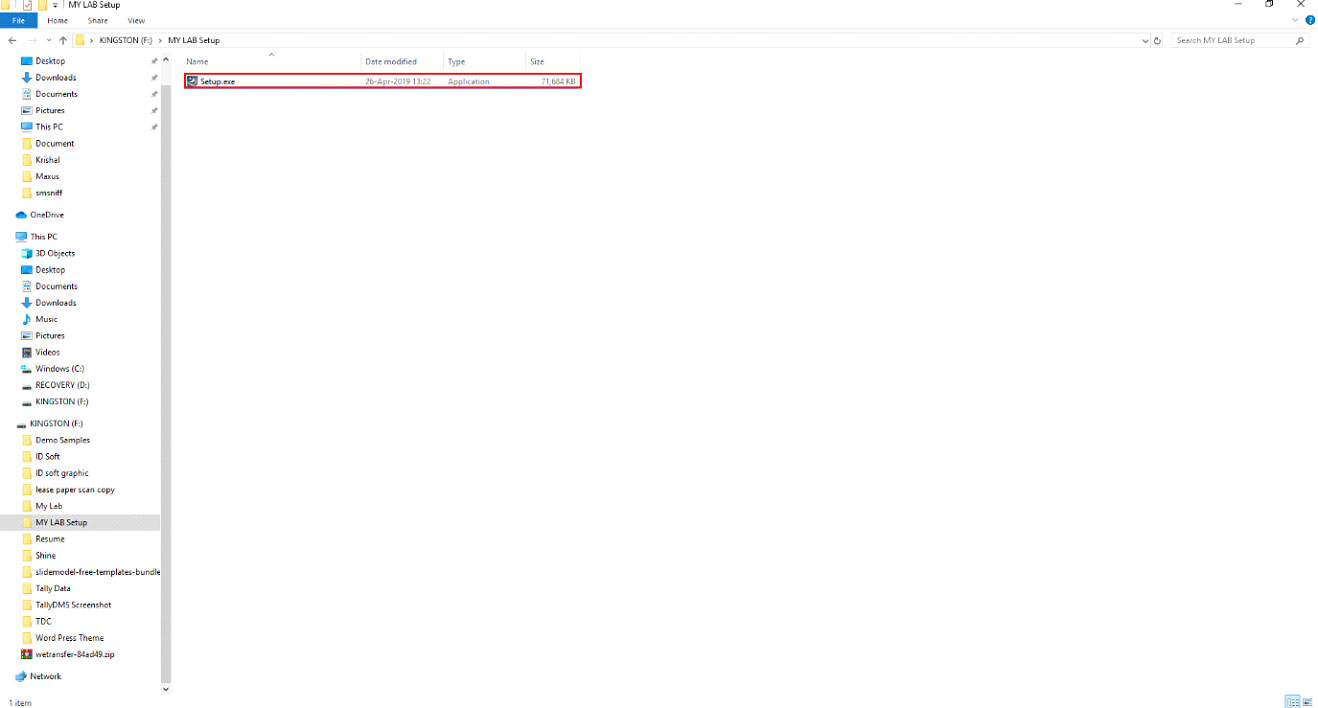
Step 1
Right Click on setup file and click on run as administrator
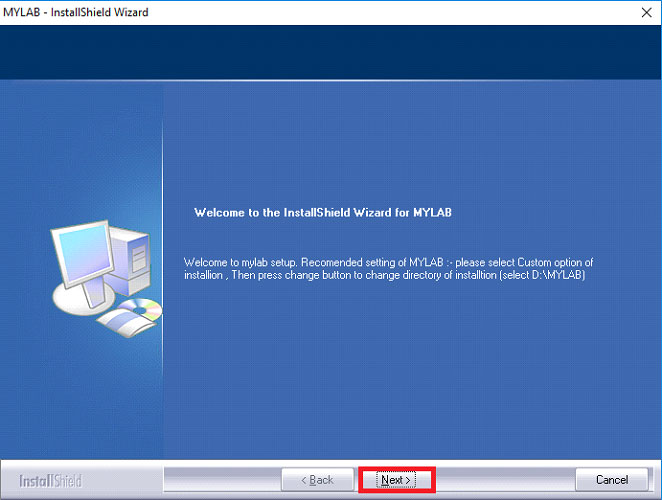
Step 2
When Mylab software open, click on next
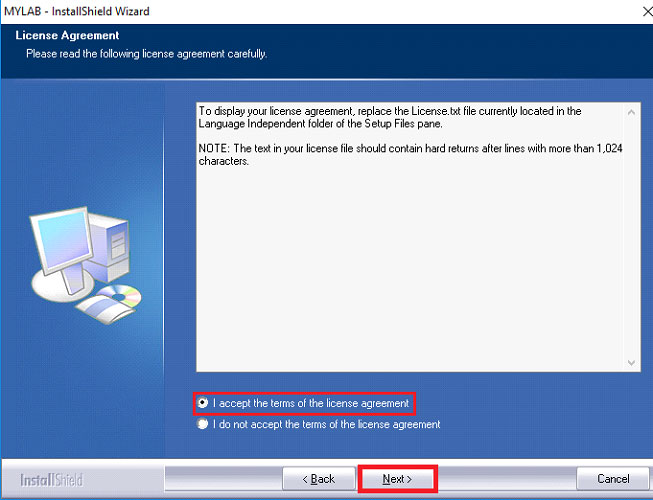
Step 3
In License Agreement, Click on I accept the term of the license agreement and then click on Next
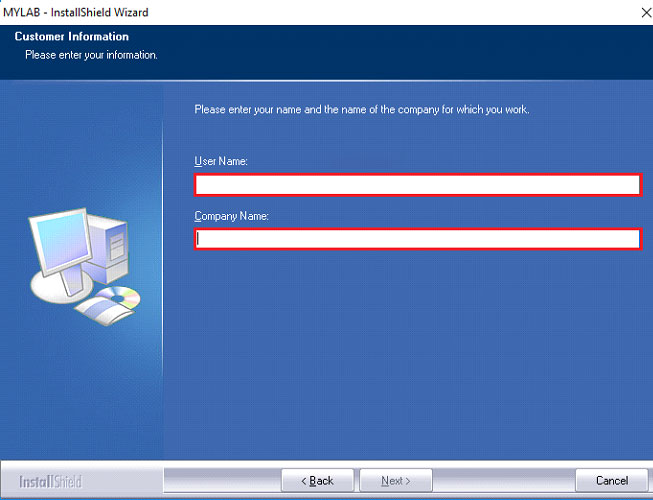
Step 4
In Customer Information, Enter User Name and Company Name
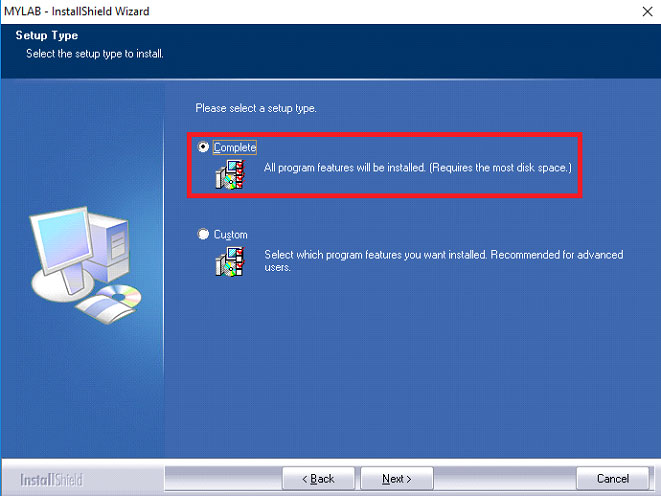
Step 5
In Setup Type, Select complete
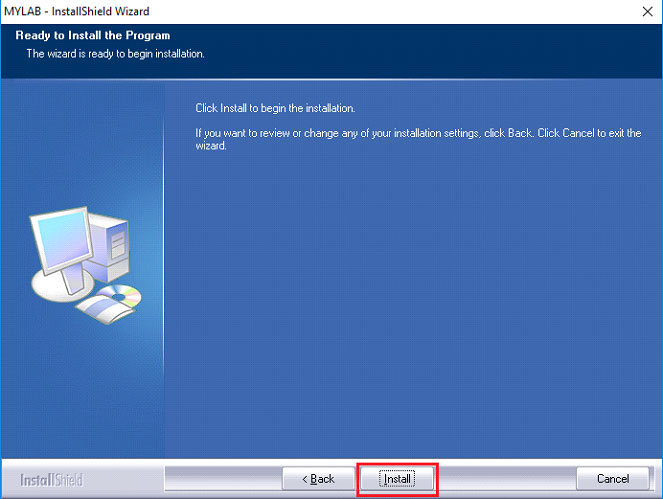
Step 6
In ready to Install, Click on Install
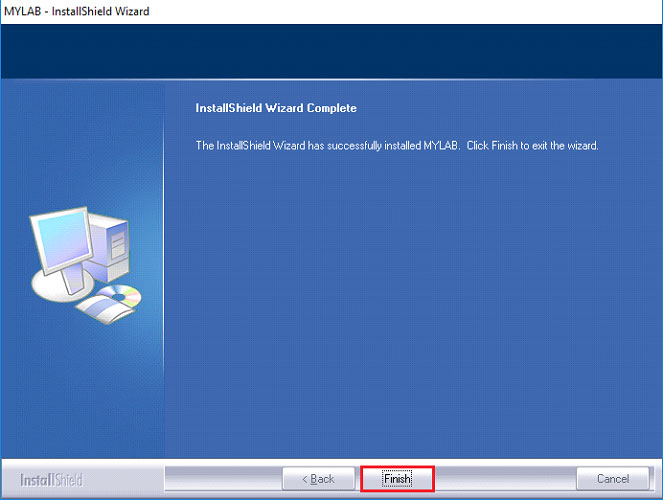
Step 7
Click finish
Right click on MyLab launcher, a window will be open
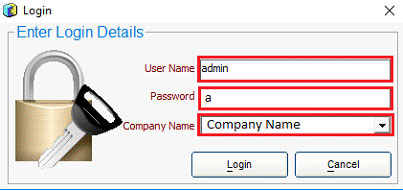
Step 8
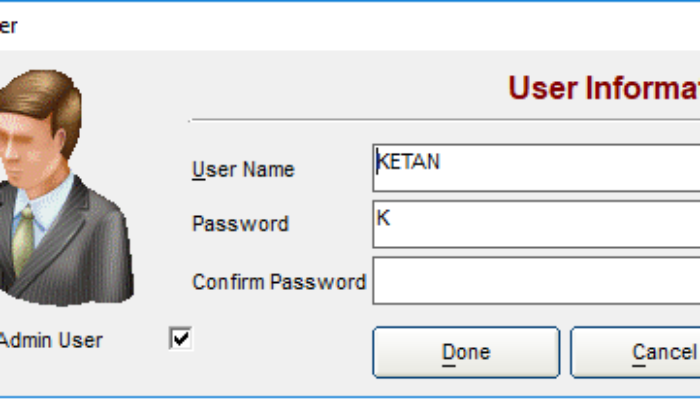
For Demo, Enter User Name as admin, password as ‘a’ and company as Your company name. As shown in picture
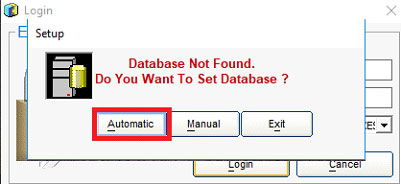
Step 9
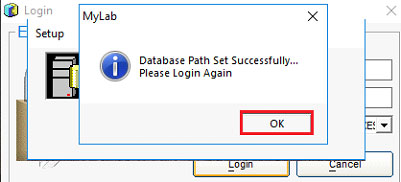
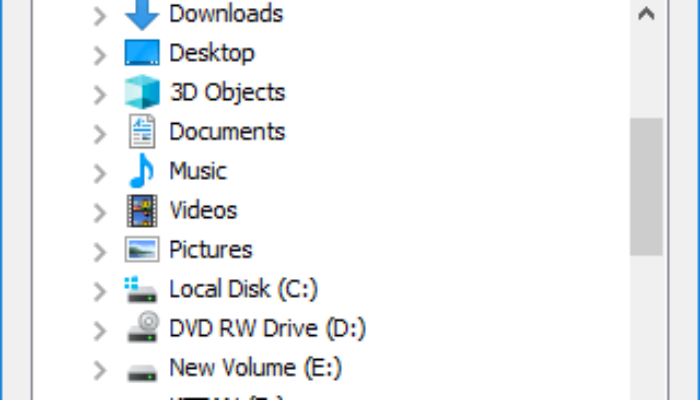
In Database setup, select Automatic option and the path will be automatically set and then click ok
Step 10
Restart the software and Enter User Name as admin, password as ‘a’ and company as Your company name as given in step 9
Thank you for installing MyLab Software
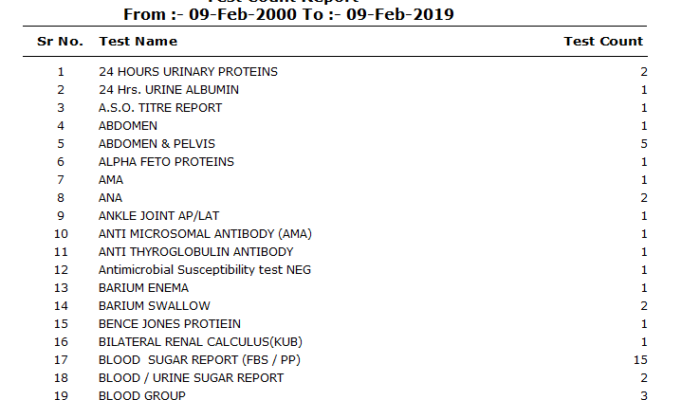
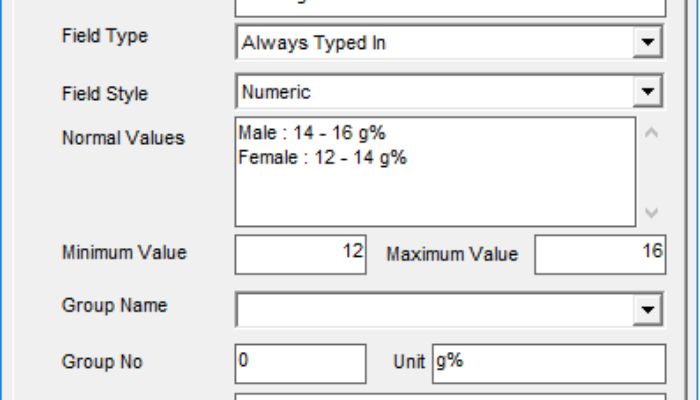
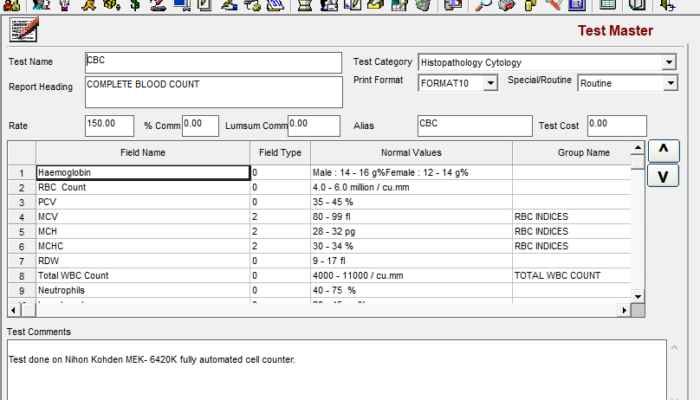
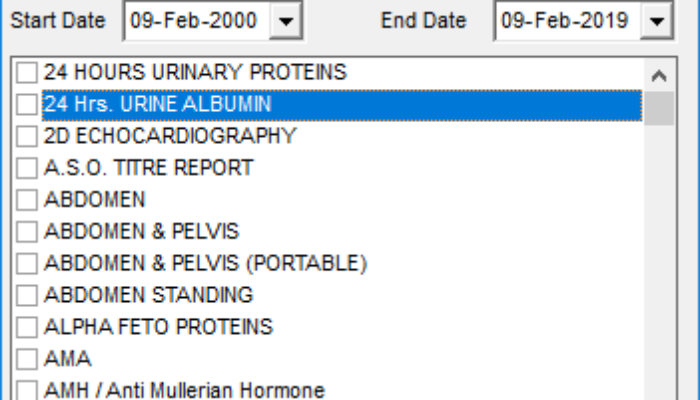
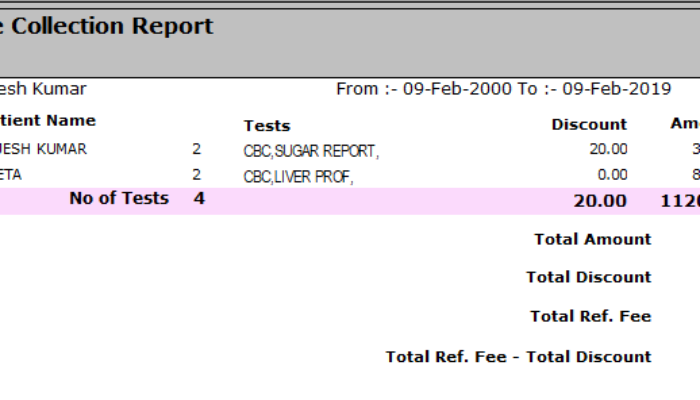
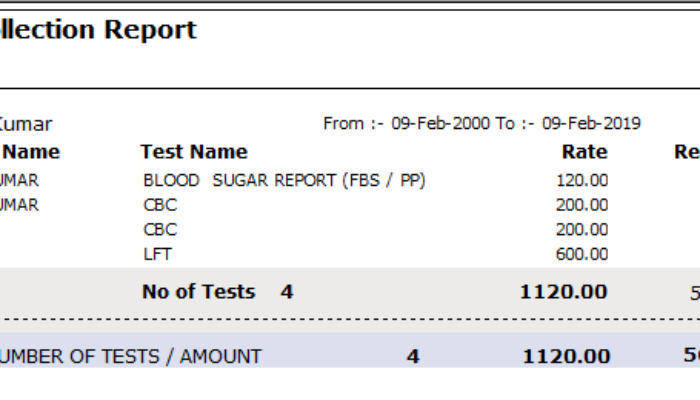
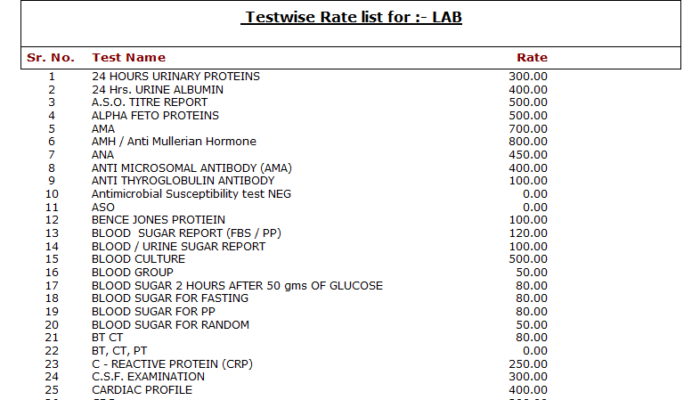
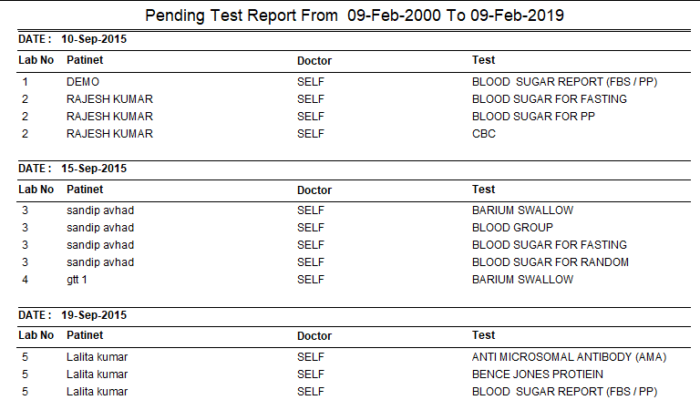
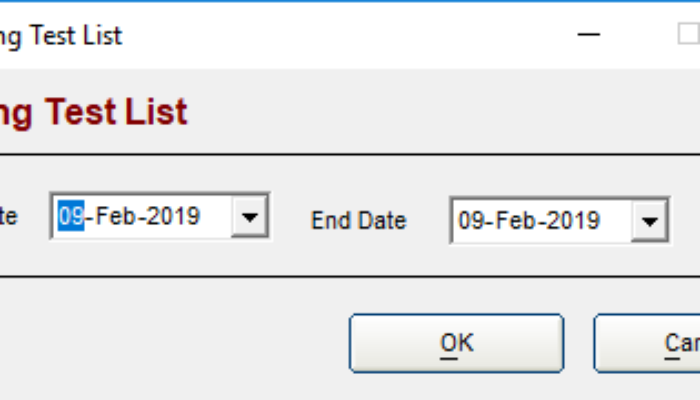
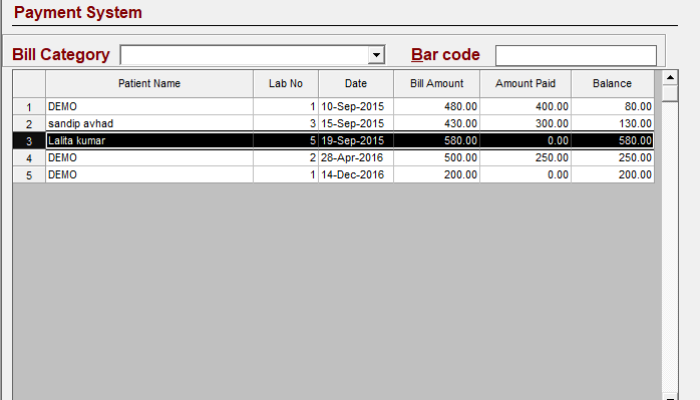
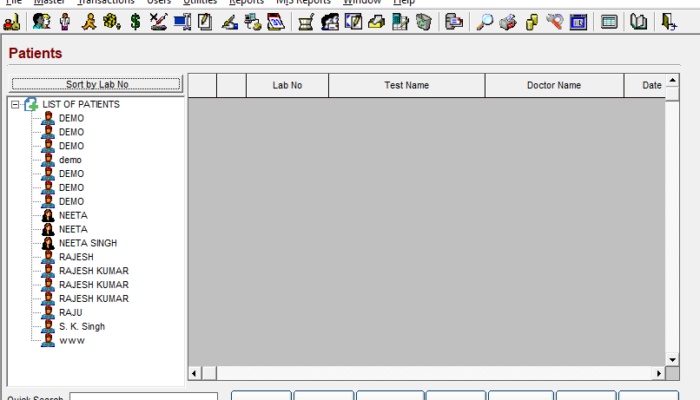
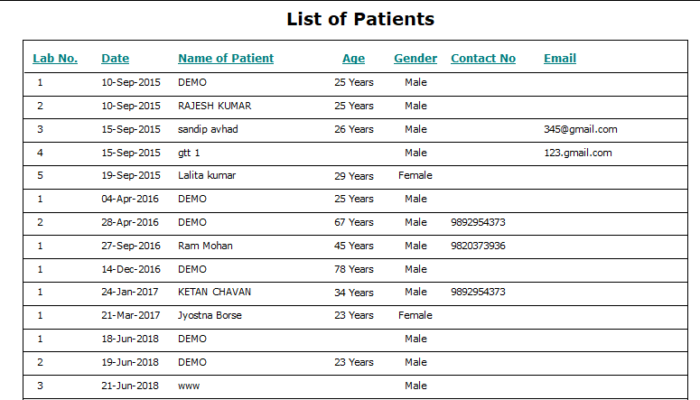
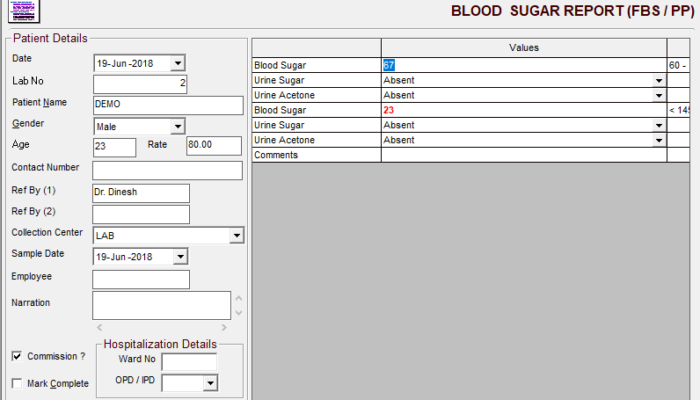
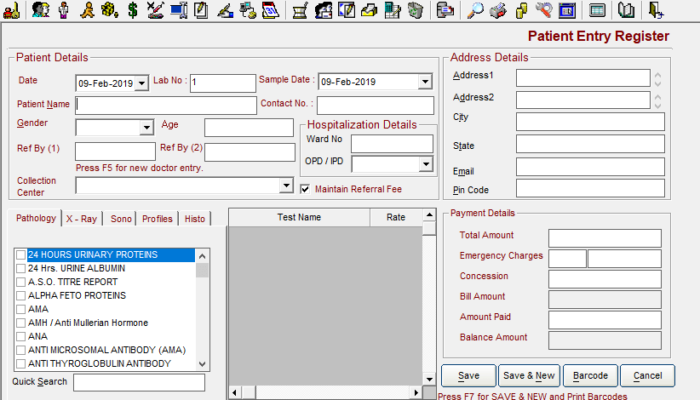
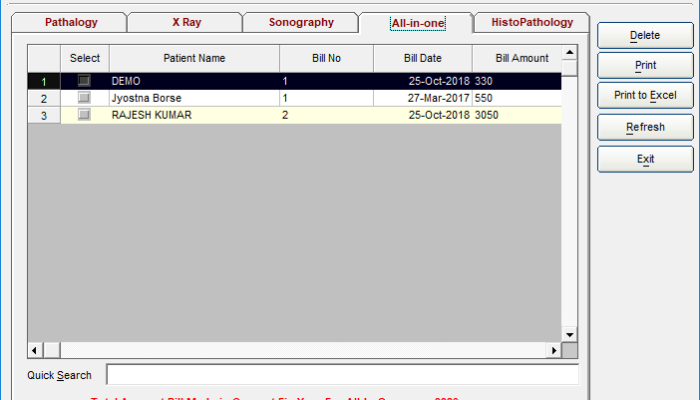
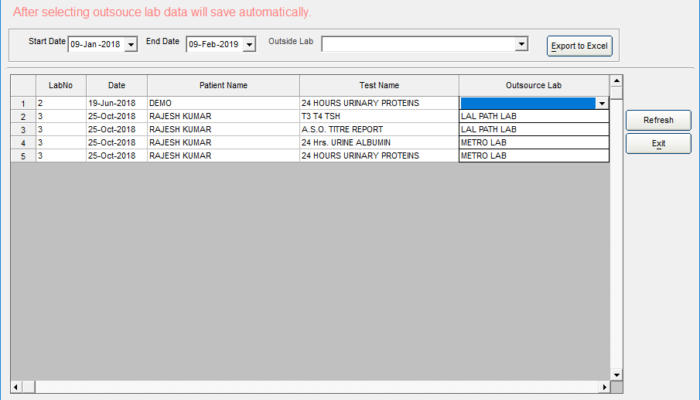
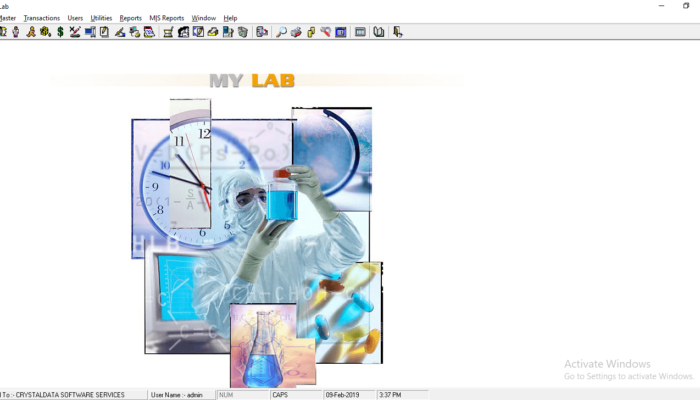
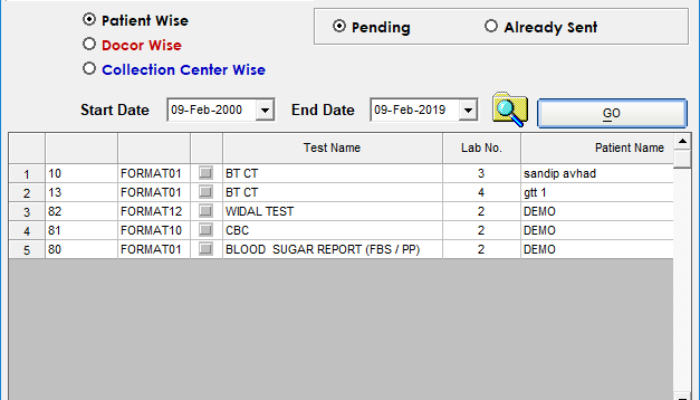
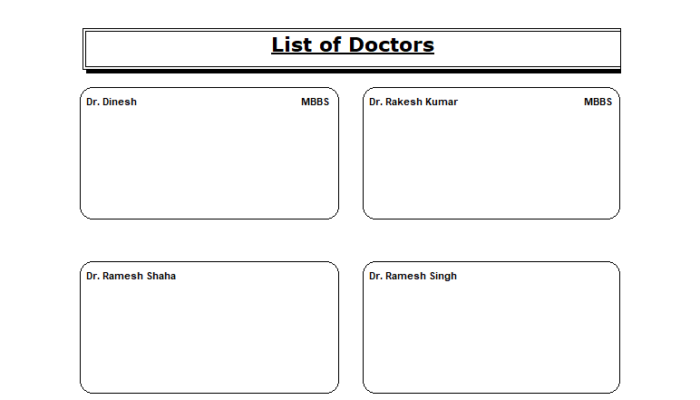
Screenshots